

How To Make Buttercream Frosting Thicker
A question I get on almost every cake video I share is "how do you get your frosting so smooth??" It's almost like people think smooth buttercream is some kind of secret.
A lot of people think I'm using some special or obscure type of frosting, or that there's a secret ingredient I include to create that silky smooth texture.
I'm sorry to ruin any of those illusions, but it has nothing to do with the type of frosting or ingredients. It all comes down how you make your frosting.
Now don't get me wrong, it's great having a go-to frosting recipe that tastes great and that you're comfortable working with. For me, I use my American buttercream recipe as a base about 90% of the time.
In fact, the tips I share below can be utilized with most types of frosting ranging from American buttercream, to Swiss meringue, to Russian buttercream.
Why is Smooth Buttercream Important?
Have you ever made a delicious batch of frosting, only to see it riddled with air bubbles as you add it to your cake?
Or have you spent tons of time trying to smooth frosting on your cake, only to end up with a zillion little air pockets all around the sides of you cake??
It can be incredibly frustrating and can make it impossible to get truly smooth sides on your cake. And it has nothing to do with your cake decorating abilities!! It's really just your frosting being difficult to work with.
Once I figured out how to make my frosting really smooth, I had a much easier time frosting my cakes with smooth sides.
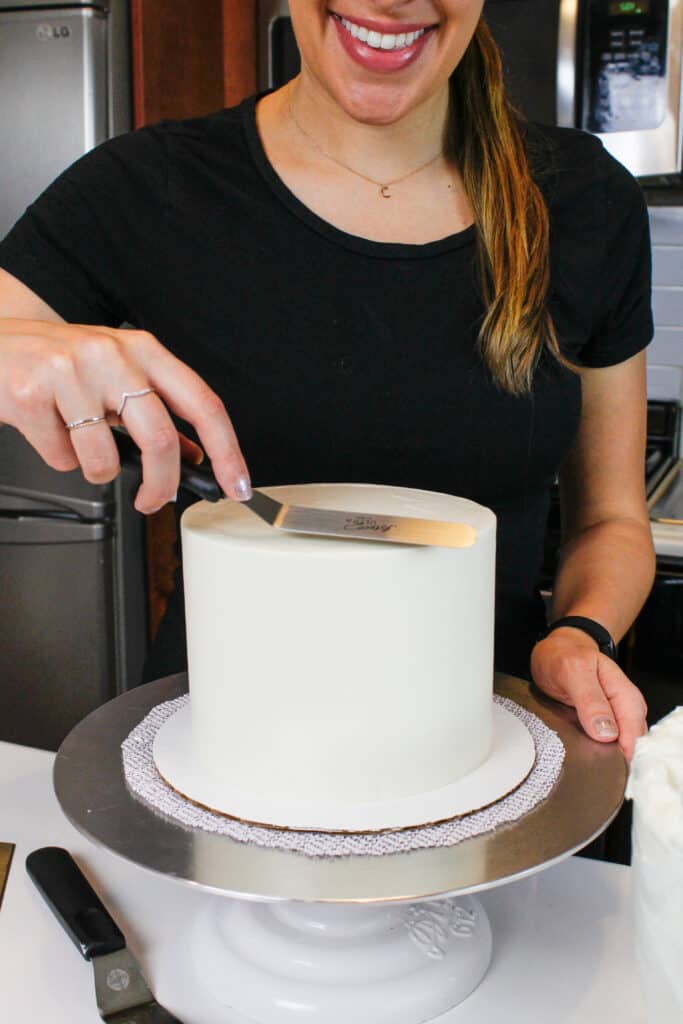
My cake decorating process became much faster and easier. It still takes me time to frost a cake, but I don't get as stressed out or frustrated as I used to. Frosting a cake now feels simpler and almost therapeutic.
How I Make Super Smooth Buttercream Frosting
There are a few things I do that makes my frosting super smooth.
I never really thought of them as unique or different until I started showing exactly how I make my frosting in private cake lessons. Whenever I shared my tips, people were quite surprised.
You may have heard of some or all of them, and I don't think any of them are really groundbreaking. But when combined, they allow you to make incredibly smooth buttercream frosting.
Tip #1: Use a Paddle Attachment
Most stand mixers (I use a 5 qt KitchenAid stand mixer) come with both a whisk attachment and a paddle attachment. The whisk attachment allows you incorporate air into whatever you're making, which is great for certain desserts like meringues or whipped cream.
It also is necessary to use a whisk attachment to make certain types of frosting like Swiss meringue, Russian buttercream, or Italian meringue. However, you only need to use the whisk attachment for the first few steps of the process.
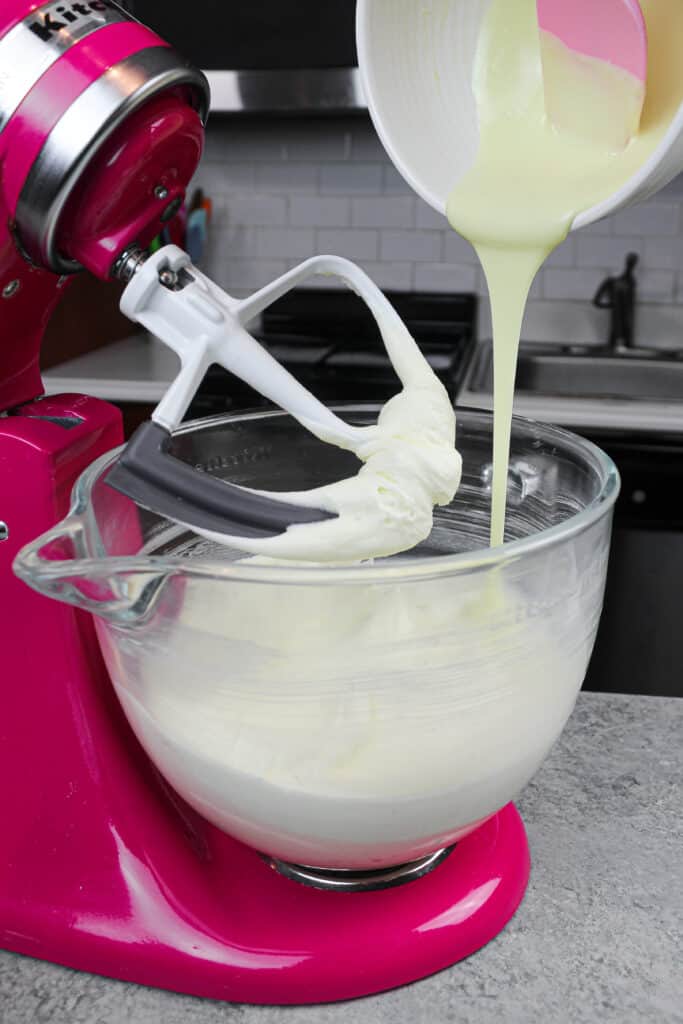
Some types of frosting don't require a whisk attachment, like American buttercream. In those situations, I recommend starting with the paddle attachment.
Even if you have to use a whisk attachment at the start of a frosting, you can switch to a paddle attachment once you've made your meringue or whipped up your butter.
This allows you to finish combining your ingredients without incorporating tons of air, which reduces the amount of air bubbles in your frosting.
If you don't have a stand mixer or paddle attachment, it's ok to use the beaters on a hand mixer. Just be sure to really focus on my next tip!!
Tip #2: Mix on the Lowest Speed
When I make my American buttercream, I never mix on a speed higher than the lowest setting. I only move my lever to the stir option.
It sounds crazy, but mixing the frosting as slowly as possible also helps make it smooth by minimizing the amount of air that's getting added in. It also lowers the chance of you covering your entire kitchen with powdered sugar clouds.
While this isn't possible for other types of frosting, you can still utilize this tip at the end of the process.
No matter what type of frosting you make, I recommend mixing your frosting on the lowest speed for a couple minutes with a paddle attachment at the end of the process.
This helps push excess air out of the frosting, which makes it nice and smooth.
Don't be afraid to let your mixer run on low for a few minutes. It makes such a big difference in the texture of the frosting.
It's pretty difficult to overmix your frosting, especially when you're mixing it on a low setting.
Tip #3: Get the Consistency Right
The two tips above are great, but if your frosting isn't the right consistency in the first place, you will still struggle getting smooth sides on your cake. I find my frosting is the smoothest when I get the consistency just right.
This is a delicate balance between the temperature of your kitchen, the type of bowl you use, the temperature of your butter, and the amount of heavy cream used.
It seems like it shouldn't be that complicated, but each of those variables can have a big impact on how your frosting turns out.
I actually have a whole separate post about making your frosting the perfect consistency. It might seem excessive, but the neurotic frosting lover in me felt it deserved its own post.
Tip #4: The Spatula Test
The easiest way to see if your frosting is the right consistency is to do (what I like to call) the spatula test.
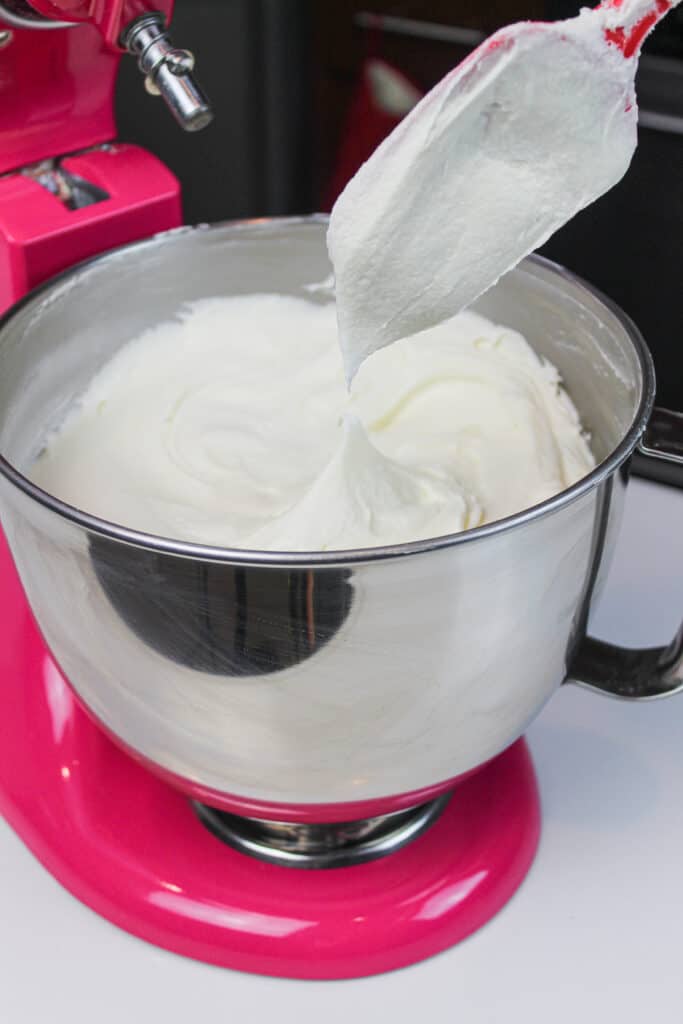
This test confirms that your frosting is stiff enough to hold its shape, but thin enough for you to easily frost your cake. I like to use this test with American and Russian buttercream, and I do it with every batch of frosting I make.
Firmly press a rubber spatula into your frosting, and pull directly up. Turn the spatula right side up, and look at the frosting on the tip of the spatula.
It should form a somewhat soft peak that has a little curl on the end. It's stiff enough to hold up that curl, but soft enough to create that little curl.
That little curl is a great visual cue to know that your frosting is just right.

If it's too stiff and sticks straight up, I suggest adding in more heavy cream (1 Tbsp at a time).
If it's too thin and doesn't form a little peak at all, try adding a bit more powdered sugar (1/4 cup at a time) or chill it in the fridge in 5-minute intervals.
After each adjustment, be sure to retest the frosting with your spatula before making any additional changes.
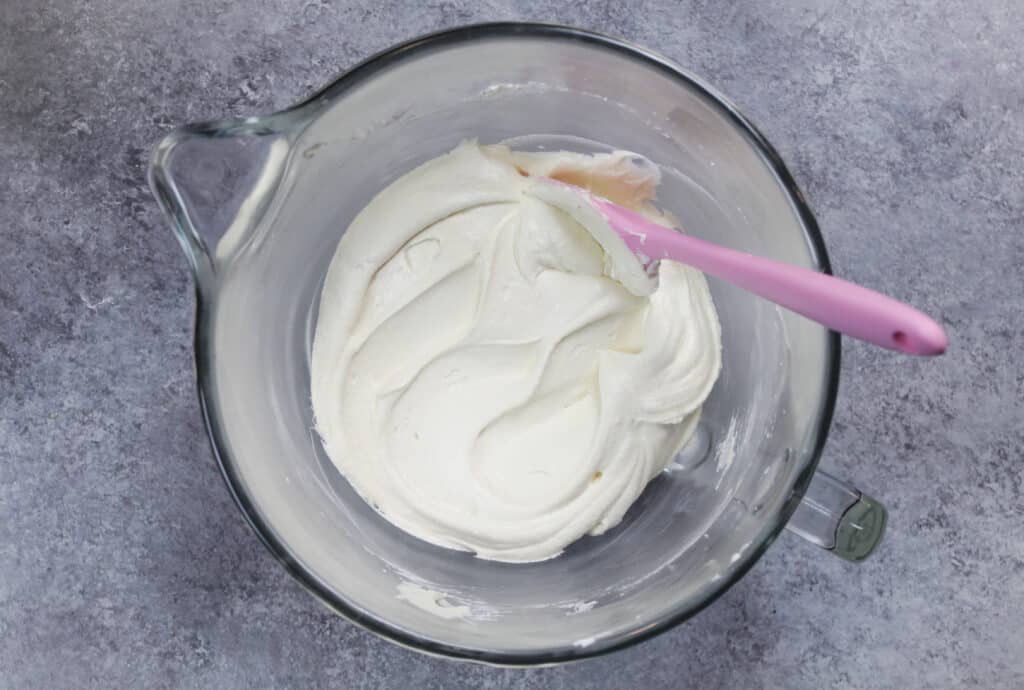
Tip #5: Mix by Hand at the End to Get Rid of Any Pesky Air Bubbles
This final tip I think is the simplest, but also has the biggest impact. Once I've made a batch of frosting and it's the perfect consistency, I don't stop there.
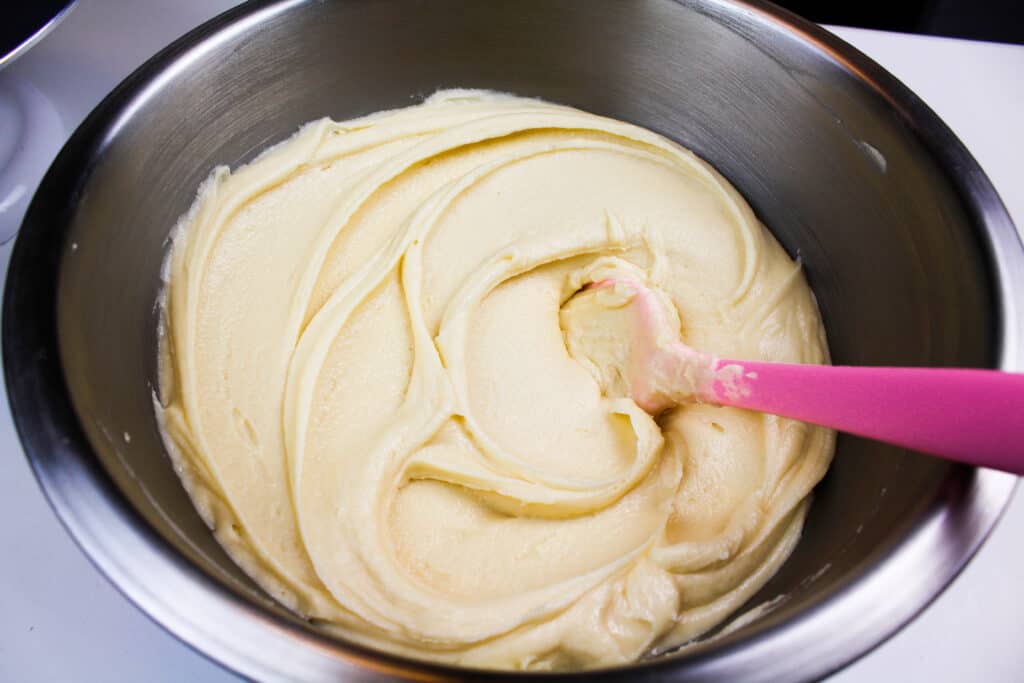
I aggressively grip a rubber spatula and work the frosting around the bowl by hand.
Now I know you're thinking, but I just had my mixer beat my frosting on low for a long time!! Shouldn't that have pushed out enough air??
The mixer is great, but this final step makes it silky smooth. There's something about stirring by hand that a stand mixer can't replicate.
I push the frosting back and forth and spread it along the sides of the bowl for a couple minutes. Please watch the video that's in this post to see what I mean.
If you do it right, it should be a pretty serious arm workout. I'm always tired by the end!
Then, and ONLY then, is your frosting smooth and ready to be added to your cake. You should see a notable difference in texture, and your frosting should be free of any air bubbles.
This is also important to do when you make frosting in advance and let it thaw. I find my frosting is straight up riddled with air bubbles once it's thawed.
I usually go to town stirring it by hand, and find it's nice and smooth after a few minutes of aggressive stirring.
Tips #6: Repeat Step #5 As Needed
Your frosting might be perfectly smooth now, but sadly it won't stay that way forever. It doesn't matter how perfect it was when you started. As your frosting sits out at room temp, it will slowly develop air bubbles.
But fear not, it can easily be fixed. Just give your frosting another good stir by hand with your rubber spatula.
I always have to do this after I crumb coat and chill my cake. By that point in the process, my frosting usually has been sitting out for at least 30 minutes. That's long enough for air bubbles to form.
I stir it for a few minutes by hand before taking my cake out of the freezer, and don't stop until it's nice and smooth again.
There's no point in making super smooth buttercream only to let your frosting get air bubbles as you add your second layer of frosting.
That's when the smoothness of your frosting matters the most!! Take the extra few minutes to stir it before adding your final layer of frosting.
Let Me Know What You Think!
If you try out these tips to make smooth buttercream frosting, I'd love to hear how they work for you!
Please leave a comment below, and let me know if you use any other tricks to make silky smooth buttercream.
Also be sure to tag me @chelsweets and use the #chelsweets so I can see your creations!
Other Recipes You Might Like:
- Russian Buttercream Recipe
- Red Buttercream Frosting Tutorial
- Black Buttercream Frosting Tutorial
- Strawberry Buttercream Frosting
- Chocolate Buttercream Frosting
- Oreo Frosting
- Salted Caramel Frosting
- Fluffy Peanut Butter Buttercream
- Cream Cheese Frosting
Prep Time 10 minutes
Total Time 10 minutes
Ingredients
- 2 cups unsalted butter, room temperature (434g; 1 lb box)
- 1 Tbsp vanilla extract or vanilla bean paste (12g)
- 1/2 tsp salt (3g)
- 7 cups powdered sugar (907g; 2 lb bag)
- 3 Tbsp heavy cream or whipping cream (45g)
Instructions
- Beat 2 cups of unsalted butter on a medium speed for 30 seconds until smooth with a paddle attachment / stand mixer or a hand mixer.
- Mix in 1 Tbsp vanilla extract or vanilla bean paste and 1/2 tsp salt on a low speed.
- Slowly add in 7 cups of powdered sugar while mixing slowly on the lowest setting. Half way through add in 3 Tbsp of heavy cream or milk to make it easier to mix. I like to place a kitchen towel over my mixer to contain any powdered sugar clouds.
- Mix on low until the ingredients are fully incorporated and the desired consistency is reached.
- If the frosting is too thick, add in additional cream (1 Tbsp at a time). If the frosting is too thin, add in more powdered sugar (quarter of a cup at a time).
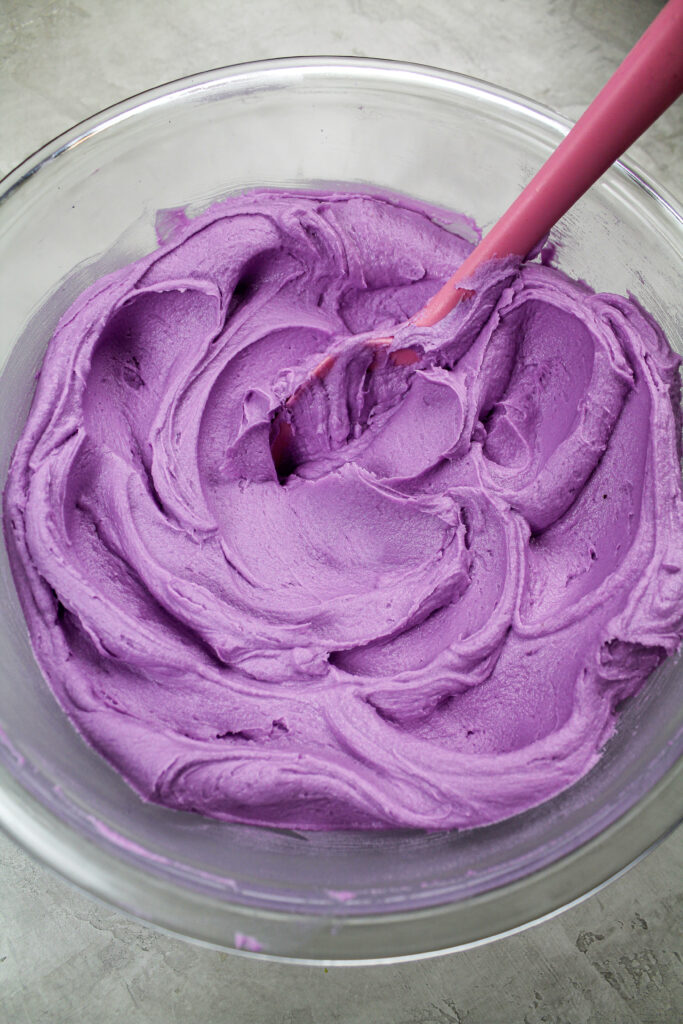
- If you plan to color the buttercream, add in the gel food coloring once the frosting is fully mixed and beat on low until it reach the desired colored.
Notes
This recipe makes about 6 cups of frosting.
If you're struggling to get your frosting smooth I share all my tips for making super smooth buttercream here.
Make your frosting ahead of time or save any leftover frosting! It can be stored in an airtight container in the fridge for up to a month, or in the freezer for up to 3 months.
Be sure to give it a good stir once it thaws to get the consistency nice and smooth again.
A frosted cake can last in the fridge for up to a week, or in the freezer for up to a month. The buttercream locks in all the moisture, keeping the cake fresh and delicious!
If you cut into the cake and have leftovers,use any remaining frosting to cover the cut section to keep it moist and store in the fridge for up to a week.
If you are making frosting for a cake, mix the buttercream on the lowest speed at the end of the process for a couple minutes, to get out any extra air that might have be incorporated during the mixing process.
I usually make 1 1/2 batches of frosting to stack and frost a seven or eight inch cake.
Nutrition Information
Yield
6 Serving Size
1
Amount Per Serving Calories 1074 Total Fat 64g Saturated Fat 40g Trans Fat 0g Unsaturated Fat 21g Cholesterol 171mg Sodium 207mg Carbohydrates 129g Fiber 0g Sugar 126g Protein 1g
How To Make Buttercream Frosting Thicker
Source: https://chelsweets.com/smooth-buttercream/
Posted by: larsenbahe1943.blogspot.com
0 Response to "How To Make Buttercream Frosting Thicker"
Post a Comment