

How To Make A Chess Board With Tiles
How To Build A Chessboard
Build this elementary, elegant chessboard in an afternoon, and make it your own by selecting any woods species you like.
![]() Fourth dimension
Fourth dimension
A few hours
![]() Complexity
Complexity
Intermediate
![]() Cost
Cost
$20-50
Introduction
You'll love playing chess on this custom-built board. And information technology's easy to do! Select the contrasting woods species you desire, get together up some glue and a few other tools and materials and yous're gear up to commencement building.
Tools Required
Materials Required
- 1-in. 18-approximate brad nails
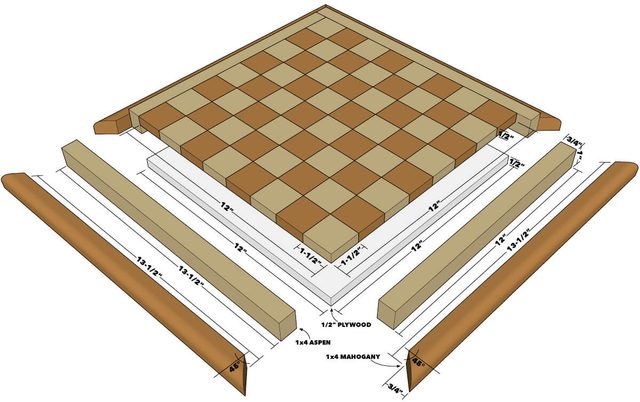
- 2' 10 ii' of 1/2" Plywood
- 8' 1x4 Lath of Dark Wood (Mahogany)
- 8' 1x4 Lath of Lite Wood (Aspen)
- Wood glue
Project Plans
Project step-by-step (13)
Step 1
Rip Boards on Table Saw
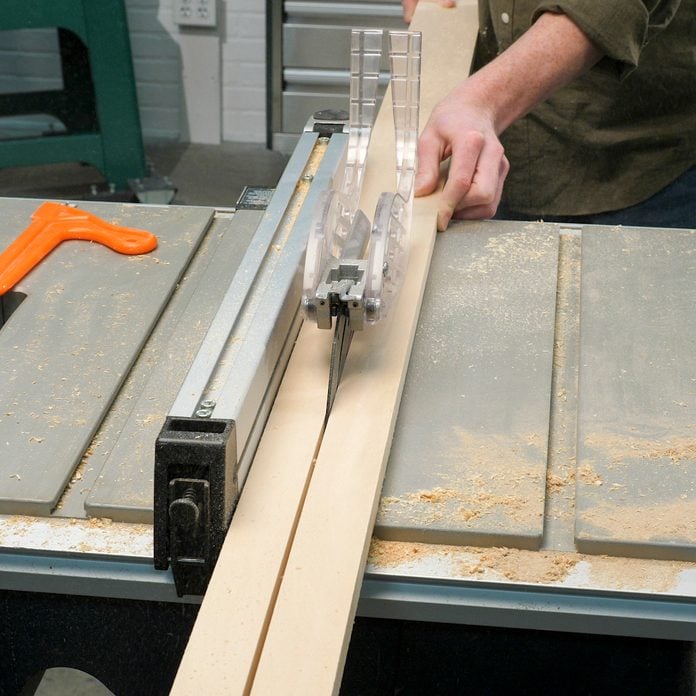
Rip boards to 1-ane/2 in. on the table saw. Y'all can certainly purchase 1x2 boards and skip this step, just I don't always trust the edges to be perfectly square.
Step 2
Rough Cut Boards with Miter Saw
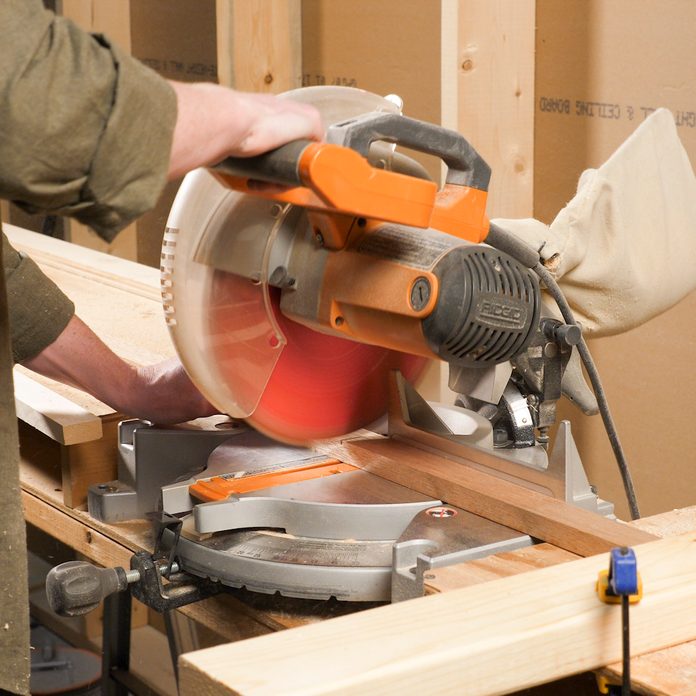
Cutting four pieces from each ripped forest species to a rough 16 in. We used a terminate so we didn't need to measure out over and over once more. This rough cutting volition give you lot a little elbowroom when yous glue up the pieces and when you cutting them into strips.
![]()
Step three
Gum Up the Strips

Lay out the boards alternate light and dark wood. Brand sure the edges fit together well. In other words, don't rely on the clamps to clasp the boards together. Spread the wood glue on the boards, making certain to get it even and all the way to the edges. Clamp together with bar clamps. Let dry completely.
Step 4
Aeroplane or Sand the Board

Plane or sand with a depression-grit sandpaper to get the newly created lath flat and even.
Step v
Cut Off the Crude Edges
Utilize a miter approximate on the tabular array saw to cut off the rough edges of the board.
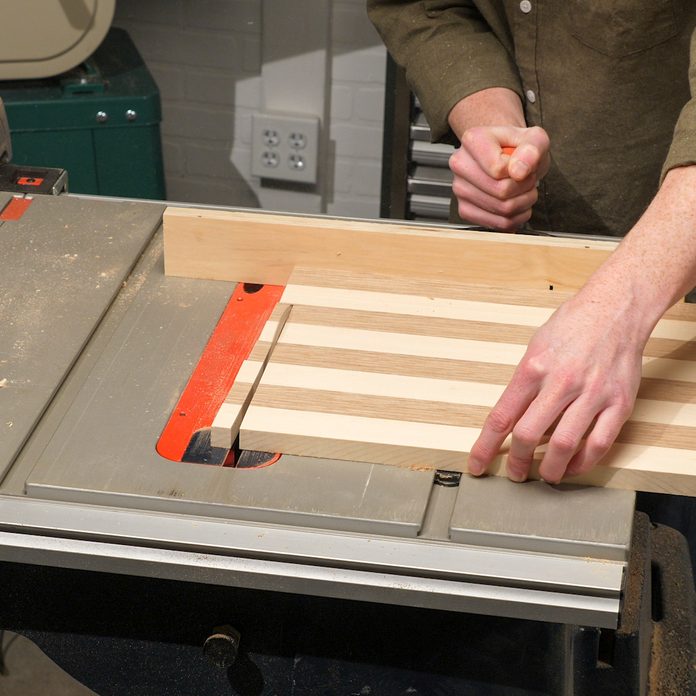
Step 6
Set a Stop & Crosscut the Board
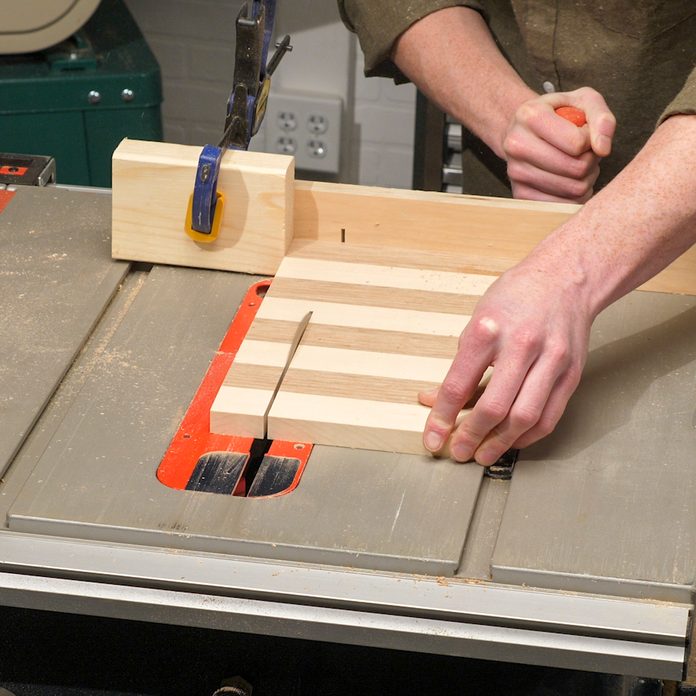
Using the same miter gauge method as above, set up upwards a cease at 1-one/2 in. from the blade and crosscut eight strips from the board.
Step 7
Flip the Strips & Gum Up

Lay out the strips and flip every other strip, creating the chessboard design. Gum upwardly the strips and clamp them together. Let dry completely. Sand or plane the newly created chessboard.
Step 8
Cut Plywood & Fasten to Chessboard
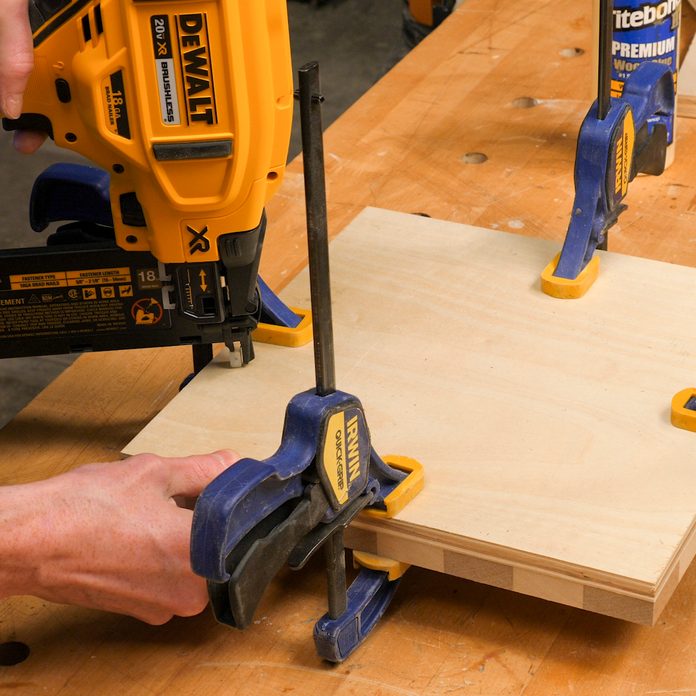
Measure the dimensions of the chessboard. It's fairly unlikely that it will be perfectly square, but simply make certain. Rip and crosscut your 1/two in. plywood to the size of your chessboard. Using mucilage, clamps and 1-in. eighteen-judge brad nails, spike the plywood to the chessboard to create a flat surface on the bottom.
Pace 9
Rip Wood to Depth
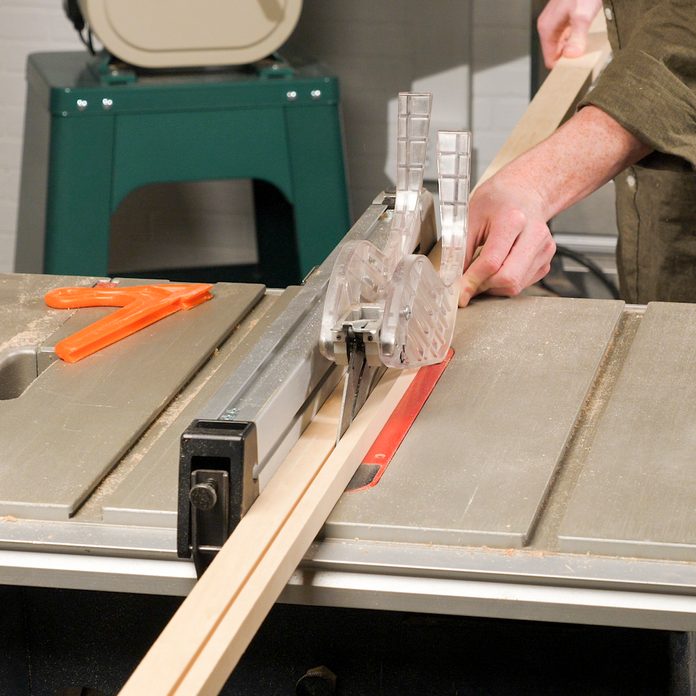
Measure the tiptop of the chessboard at several points, take the smallest elevation, and rip the lighter woods species to that size.
Pace 10
Scribe Lengths of Wood

Line up the ripped light lath with the chessboard and scribe the lengths. Cut the light wood board to those lengths on the miter saw. Using glue and brad nails, spike the pieces to the edges of the chessboard. Sand until the chessboard is flush with the outer frame.
Step 11
Round Over & Rip Darker Woods
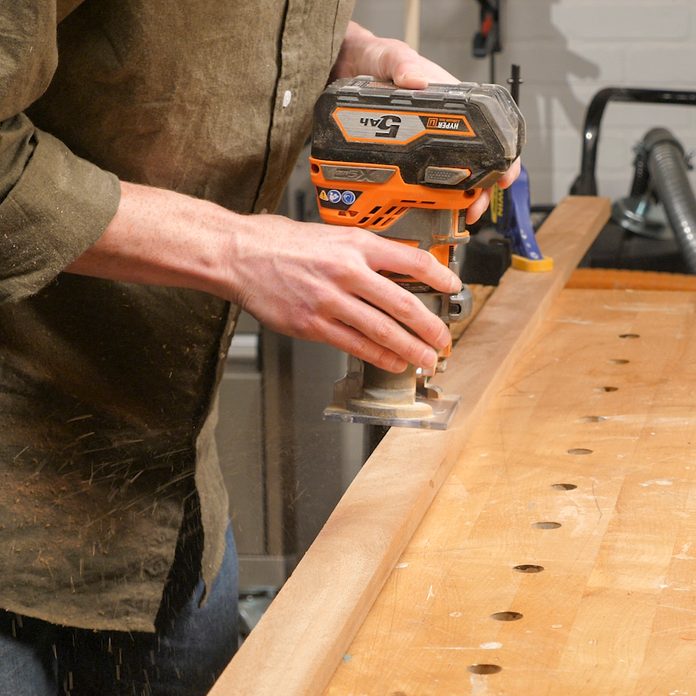
Use a router and a 1/four-in. round-over bit to round the edges of the dark wood. Rip the board to 3/4 in. on the tabular array saw. If you don't want to practice this step, home stores sell three/four-in. quarter-round moulding of near every species of wood. These materials are usually pretty cheap and can save you some building time.
Step 12
Miter Angles Into Rounded Lath for the Outer Edge
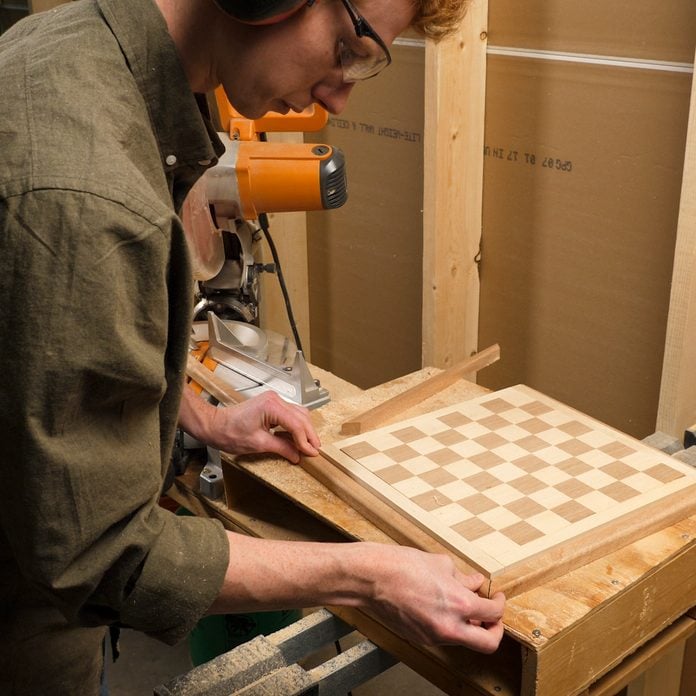
Miter a 45-degree angle into the rounded lath. Have it to the chessboard and scribe the other side of the board to get the length of the outer rim. Repeat this procedure to get the other 3 sides.
Step 13
Mucilage & Clench

Glue and clamp the mitered boards to the chessboard and permit information technology sit until it's fully cured. Brand certain to spread the glue onto the angles. This is primal to a good hold. If you don't trust just the glue, you lot tin can too blast i-ane/2-in. 18-gauge brad nails into the chessboard and brand it completely secure.

Source: https://www.familyhandyman.com/project/how-to-build-a-chessboard/
Posted by: larsenbahe1943.blogspot.com
0 Response to "How To Make A Chess Board With Tiles"
Post a Comment